插入图片
如果想要在文章中插入图片,此时,宏包的作用就来了,我们需要在导言区中调用graphicx宏包。
\usepackage{graphicx}
图片的缩放和旋转
在正式插入图片之前,我们需要了解如何更改插入图片的大小,以及对图片的旋转。方法如下:
- 按照图片原大小进行缩放 下面的代码意为将图片缩放为原来的0.6倍
\includegraphics[scale=0.6]{图片名}
- 设定图片的高度或宽度的大小 其中的”高度”和”宽度”是指希望图片打印的高度和宽度, 必须给出单位, 可用厘米(cm)或英寸(in)。高度和宽度若同时给出, 就会改变原图的长宽比
\includegraphics[height=3in]{图片名}
或者:
\includegraphics[width=5cm]{图片名}
- 按照文本高度或宽度进行缩放 我非常推荐在下面的图片插入时利用此方法来实现,文本高度和宽度即为当文字充满整页时一列或一行的长度。
\includegraphics[height=0.2\textheight]{图片名}
或者
\includegraphics[width=0.8\textwidth]{图片名}
- 图片的旋转 图片的旋转可以在原来代码的基础上再添加一个angle参数即可
\includegraphics[width=0.8\textwidth, angle=60]{图片名}
定位
为了使图片的位置在我们希望的地方,我们需要引入一个新的环境。
\begin{figure}[h]
\includegraphics[width=8cm]{图片名}
\end{figure}
该figure环境用于将图片显示为文档中的浮动元素。这意味着我们将图片包含在环境中,而不必担心它的位置。当然,除了h参数以外,还有如下参数:
| 参数 | 位置 |
|---|---|
| h | 在这里放置浮动体,即大约在源文本中出现的同一位置(然而,并不完全在该位置) |
| t | 位于页面顶部 |
| b | 位于页面底部 |
| p | 放在一个仅用于浮动的特殊页面上 |
| ! | 覆盖LaTeX用于确定“良好”浮动位置的内部参数 |
| H | 将浮动体精确地放置在LATEX代码中的位置,需宏包float,但偶尔可能会导致一些问题 |
单图插入
在文件夹 latex_learn中创建一个名为 image_doc.tex 的文件, 并在其中输入以下代码并编译:
\documentclass{ctexart}
\usepackage{graphicx}
\begin{document}
    \begin{figure}[h]
        \centering  %图片居中
        \includegraphics[width=0.8\textwidth]{img.png}
        \caption{latex图片} %文档中显示的图片标题
    \end{figure}
\end{document}
如果一篇文章中我们需要插入较多的图片,我们可以将这些图片保存在某些文件夹下,并在导言区设定好这些文件夹,那么系统将会在这些文件夹下搜索我们图片的名字来进行导入,方法如下:
\graphicspath{{figures/}{pictures/}{images/}}
同样的,我们可以给这些图片设置label,以便在正文中引用他们,不仅如此,在左侧的结构栏中也可以让我们快速找到这些标签以便管理。
将 image_doc.tex代码修改为如下所示并编译:
\documentclass{ctexart}
\usepackage{graphicx}
\graphicspath{{figures/}{pictures/}{images/}}

\begin{document}
    这是正文\par
    这是图\ref{fig:latex},一张latex的图片
    \begin{figure}[h]
        \centering  %图片居中
        \includegraphics[width=0.8\textwidth]{img.png}
        \caption{latex图片} %文档中显示的图片标题
        \label{fig:latex} %用于文内引用的标签
    \end{figure}

    这是图\ref{fig:latex60},一张latex的图片旋转60度
    \begin{figure}[h]
        \centering  %图片居中
        \includegraphics[width=0.5\textwidth, angle=60]{img.png}
        \caption{latex图片旋转60度} %文档中显示的图片标题
        \label{fig:latex60} %用于文内引用的标签
    \end{figure}
\end{document}

多图插入
对于多图插入,需要使用宏包subcaption来辅助实现。
将 image_doc.tex代码修改为如下所示并编译:
\documentclass{ctexart}
\usepackage{graphicx}
\usepackage{subcaption}
\graphicspath{{figures/}{pictures/}{images/}}

\begin{document}
\begin{figure}[h]
    \centering
    \caption{多图横向排列}
    \begin{minipage}[c]{0.49\textwidth}
        \centering
        \includegraphics[width=1\textwidth]{img}
        \subcaption{latex图片}
    \end{minipage}
    \begin{minipage}[c]{0.49\textwidth}
        \centering
        \includegraphics[width=1\textwidth]{logo}
        \subcaption{组徽}
    \end{minipage}
\end{figure}
\end{document}
对于以上代码而言,首先在figure环境下,我们设置了居中对齐以及标题,随后引入了minipage环境,此处[c]表示居中,同意还要参数[l][r]表示左对齐和右对齐,随后利用{0.49\textwidth}设置了minipage的大小,这里如果若干个minipage的大小之和大于等于1\textwidth,那么最后一个minipage将会换行,因此通过控制minipage的大小我们可以实现多图横向排列或者纵向排列,而minipage里面的参数与单图插入类似。需要注意的是上述minipage里面的[width=1\textwidth]表示的是minipage的宽度。通过以下示例可以方便大家快速理解
横向排列或横向排列
需要注意的是caption在源代码的位置将决定其在图片上方还是下方
\documentclass{ctexart}
\usepackage{graphicx}
\usepackage{subcaption}
\graphicspath{{figures/}{pictures/}{images/}}

\begin{document}
    \begin{figure}[h]
        \centering
        \begin{minipage}[c]{0.49\textwidth}
            \centering
            \includegraphics[width=1\textwidth]{img}
            \subcaption{latex图片}
        \end{minipage}
        \begin{minipage}[c]{0.49\textwidth}
            \centering
            \includegraphics[width=1\textwidth]{img}
            \subcaption{latex图片}
        \end{minipage}
        \caption{多图横向排列}
    \end{figure}

    \begin{figure}[!h]
        \centering
        \caption{多图纵向排列}
        \begin{minipage}[c]{0.5\textwidth}
            \centering
            \includegraphics[width=1\textwidth]{img}
            \subcaption{latex图片}
        \end{minipage}
        \begin{minipage}[c]{0.8\textwidth}
            \centering
            \includegraphics[width=1\textwidth]{img}
            \subcaption{latex图片}
        \end{minipage}
    \end{figure}
\end{document}
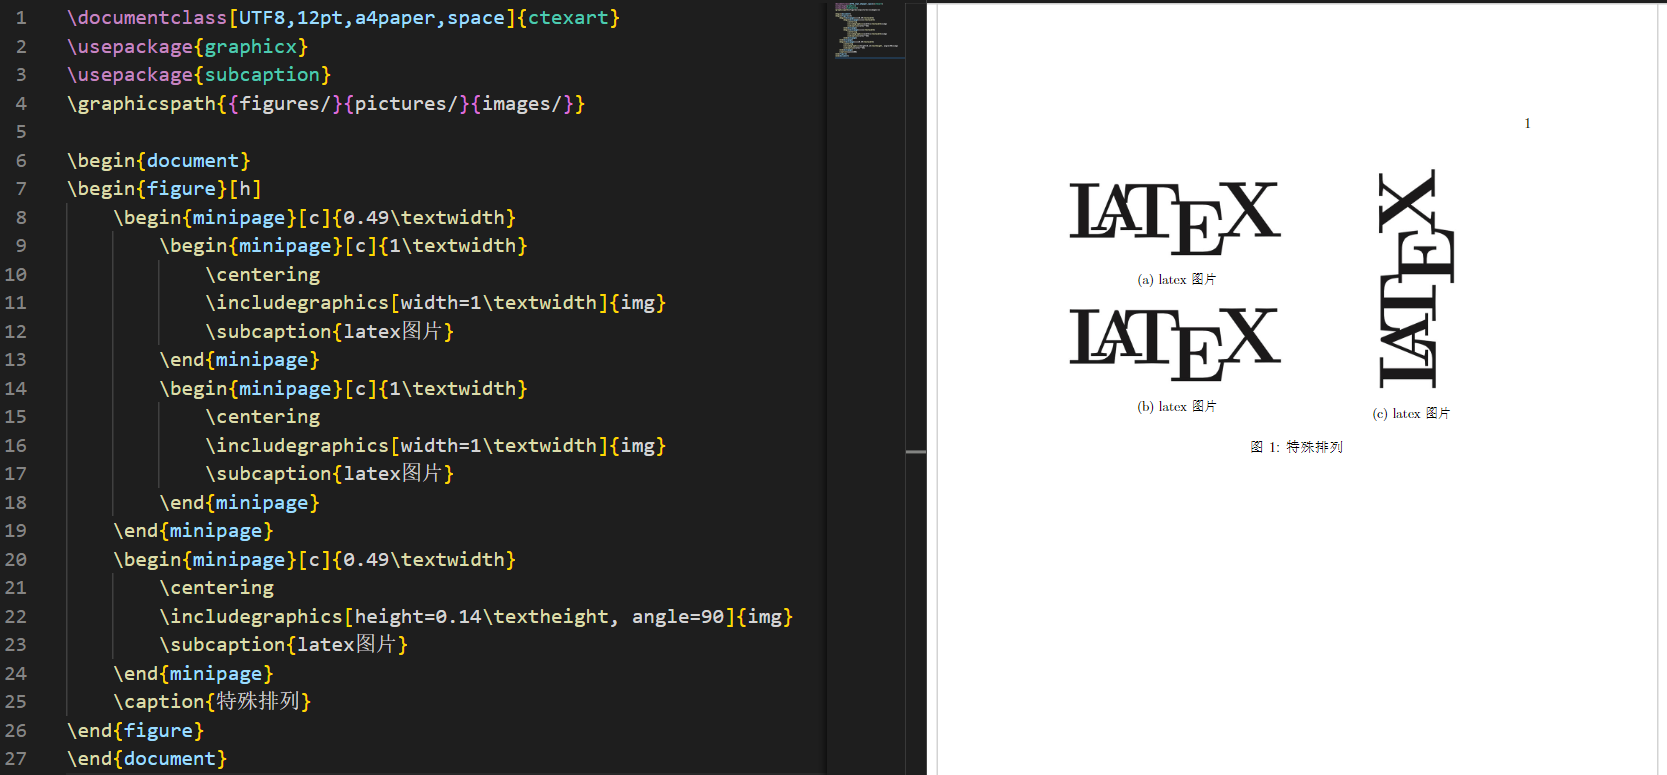
特殊排列方式
通过以上示例,我们可以体会到minipage其实就是一个小方框,这些小方框里面可以继续套小方框,因此,通过控制这些方框的参数来实现我们想要的排列方式,以下为一个示例,其他更多的排列方式可自行研究。
\documentclass{ctexart}
\usepackage{graphicx}
\usepackage{subcaption}
\graphicspath{{figures/}{pictures/}{images/}}

\begin{document}
\begin{figure}[h]
    \begin{minipage}[c]{0.49\textwidth}
        \begin{minipage}[c]{1\textwidth}
            \centering
            \includegraphics[width=1\textwidth]{img}
            \subcaption{latex图片}
        \end{minipage}
        \begin{minipage}[c]{1\textwidth}
            \centering
            \includegraphics[width=1\textwidth]{img}
            \subcaption{latex图片}
        \end{minipage}
    \end{minipage}
    \begin{minipage}[c]{0.49\textwidth}
        \centering
        \includegraphics[height=0.14\textheight, angle=90]{img}
        \subcaption{latex图片}
    \end{minipage}
    \caption{特殊排列}
\end{figure}
\end{document}